Work with lead
Lead came was the traditional material to construct stained glass windows. If you look at church windows you will see these are made up of sections of coloured glass cut to various shapes, joined together with lines of lead came.
Traditionally stained glass designs were constructed with sections of coloured glass cut to various shapes that were joined together with lead came. This is now a rapidly declining skill.
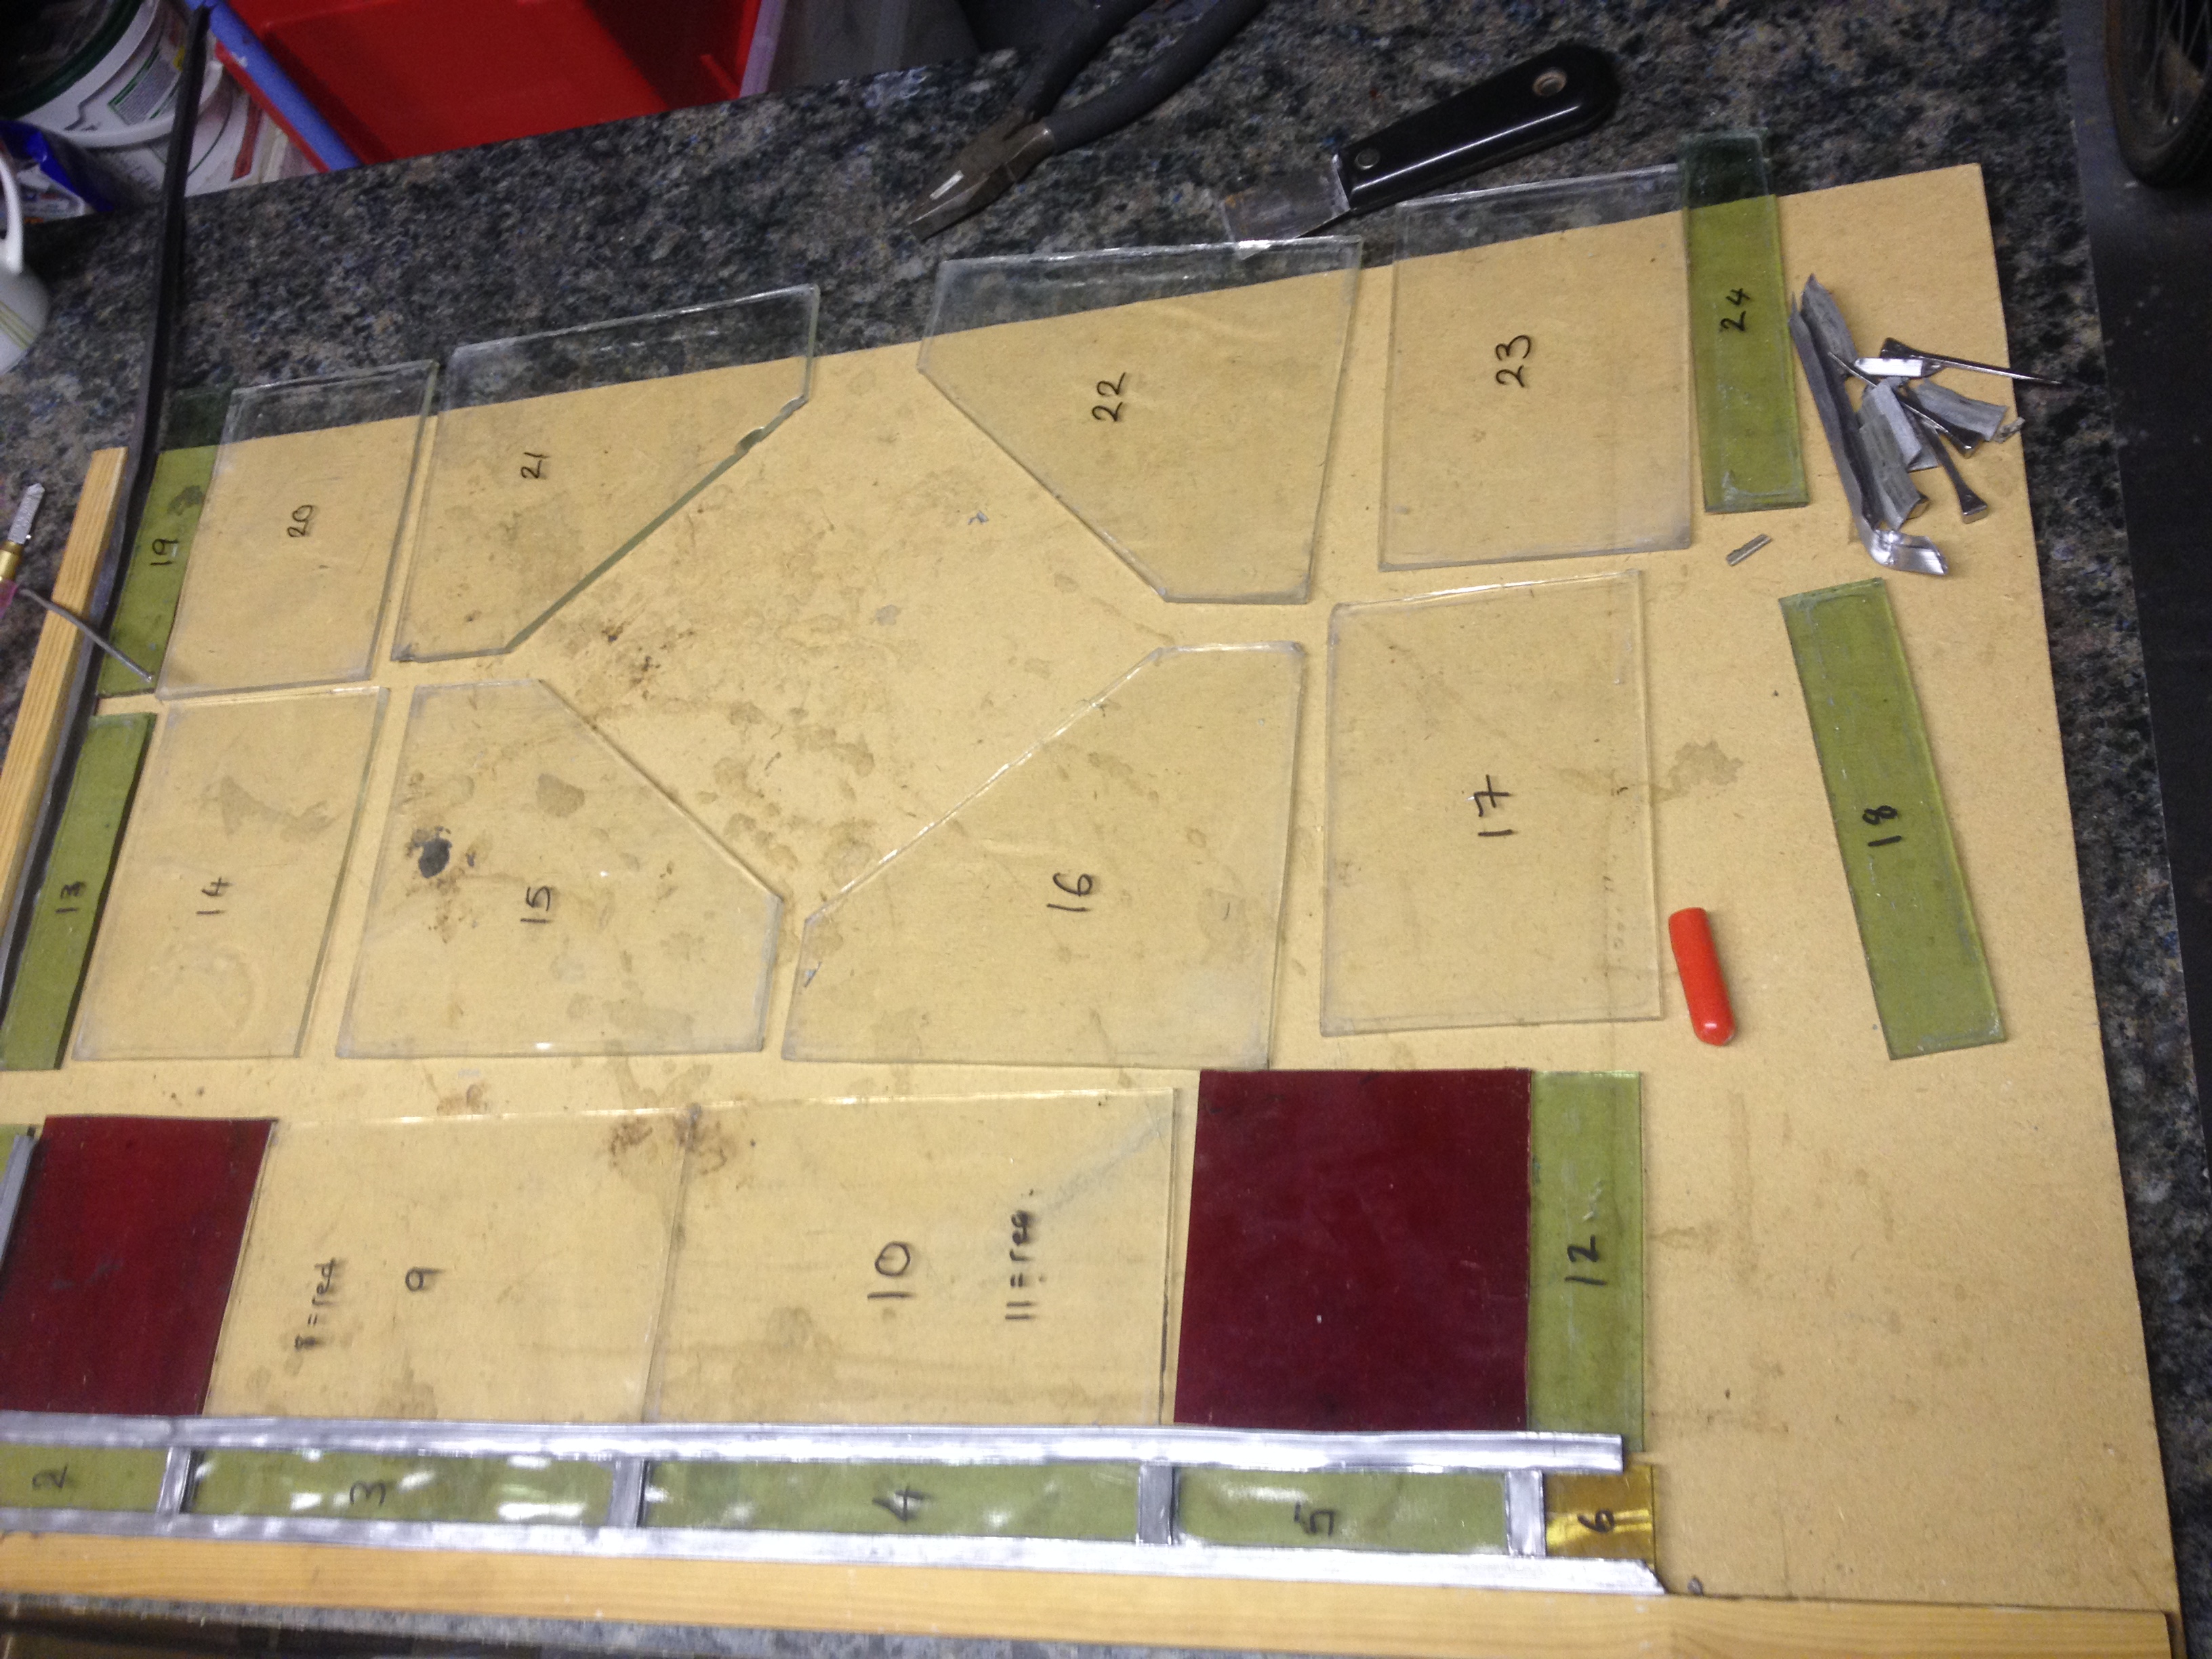
The individually cut pieces of glass are cleaned and numbered to fit the design.
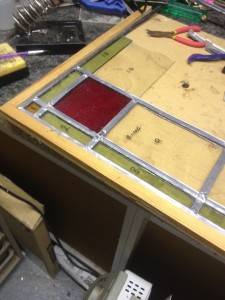
The lead came is cut to fit securely around each piece of glass.
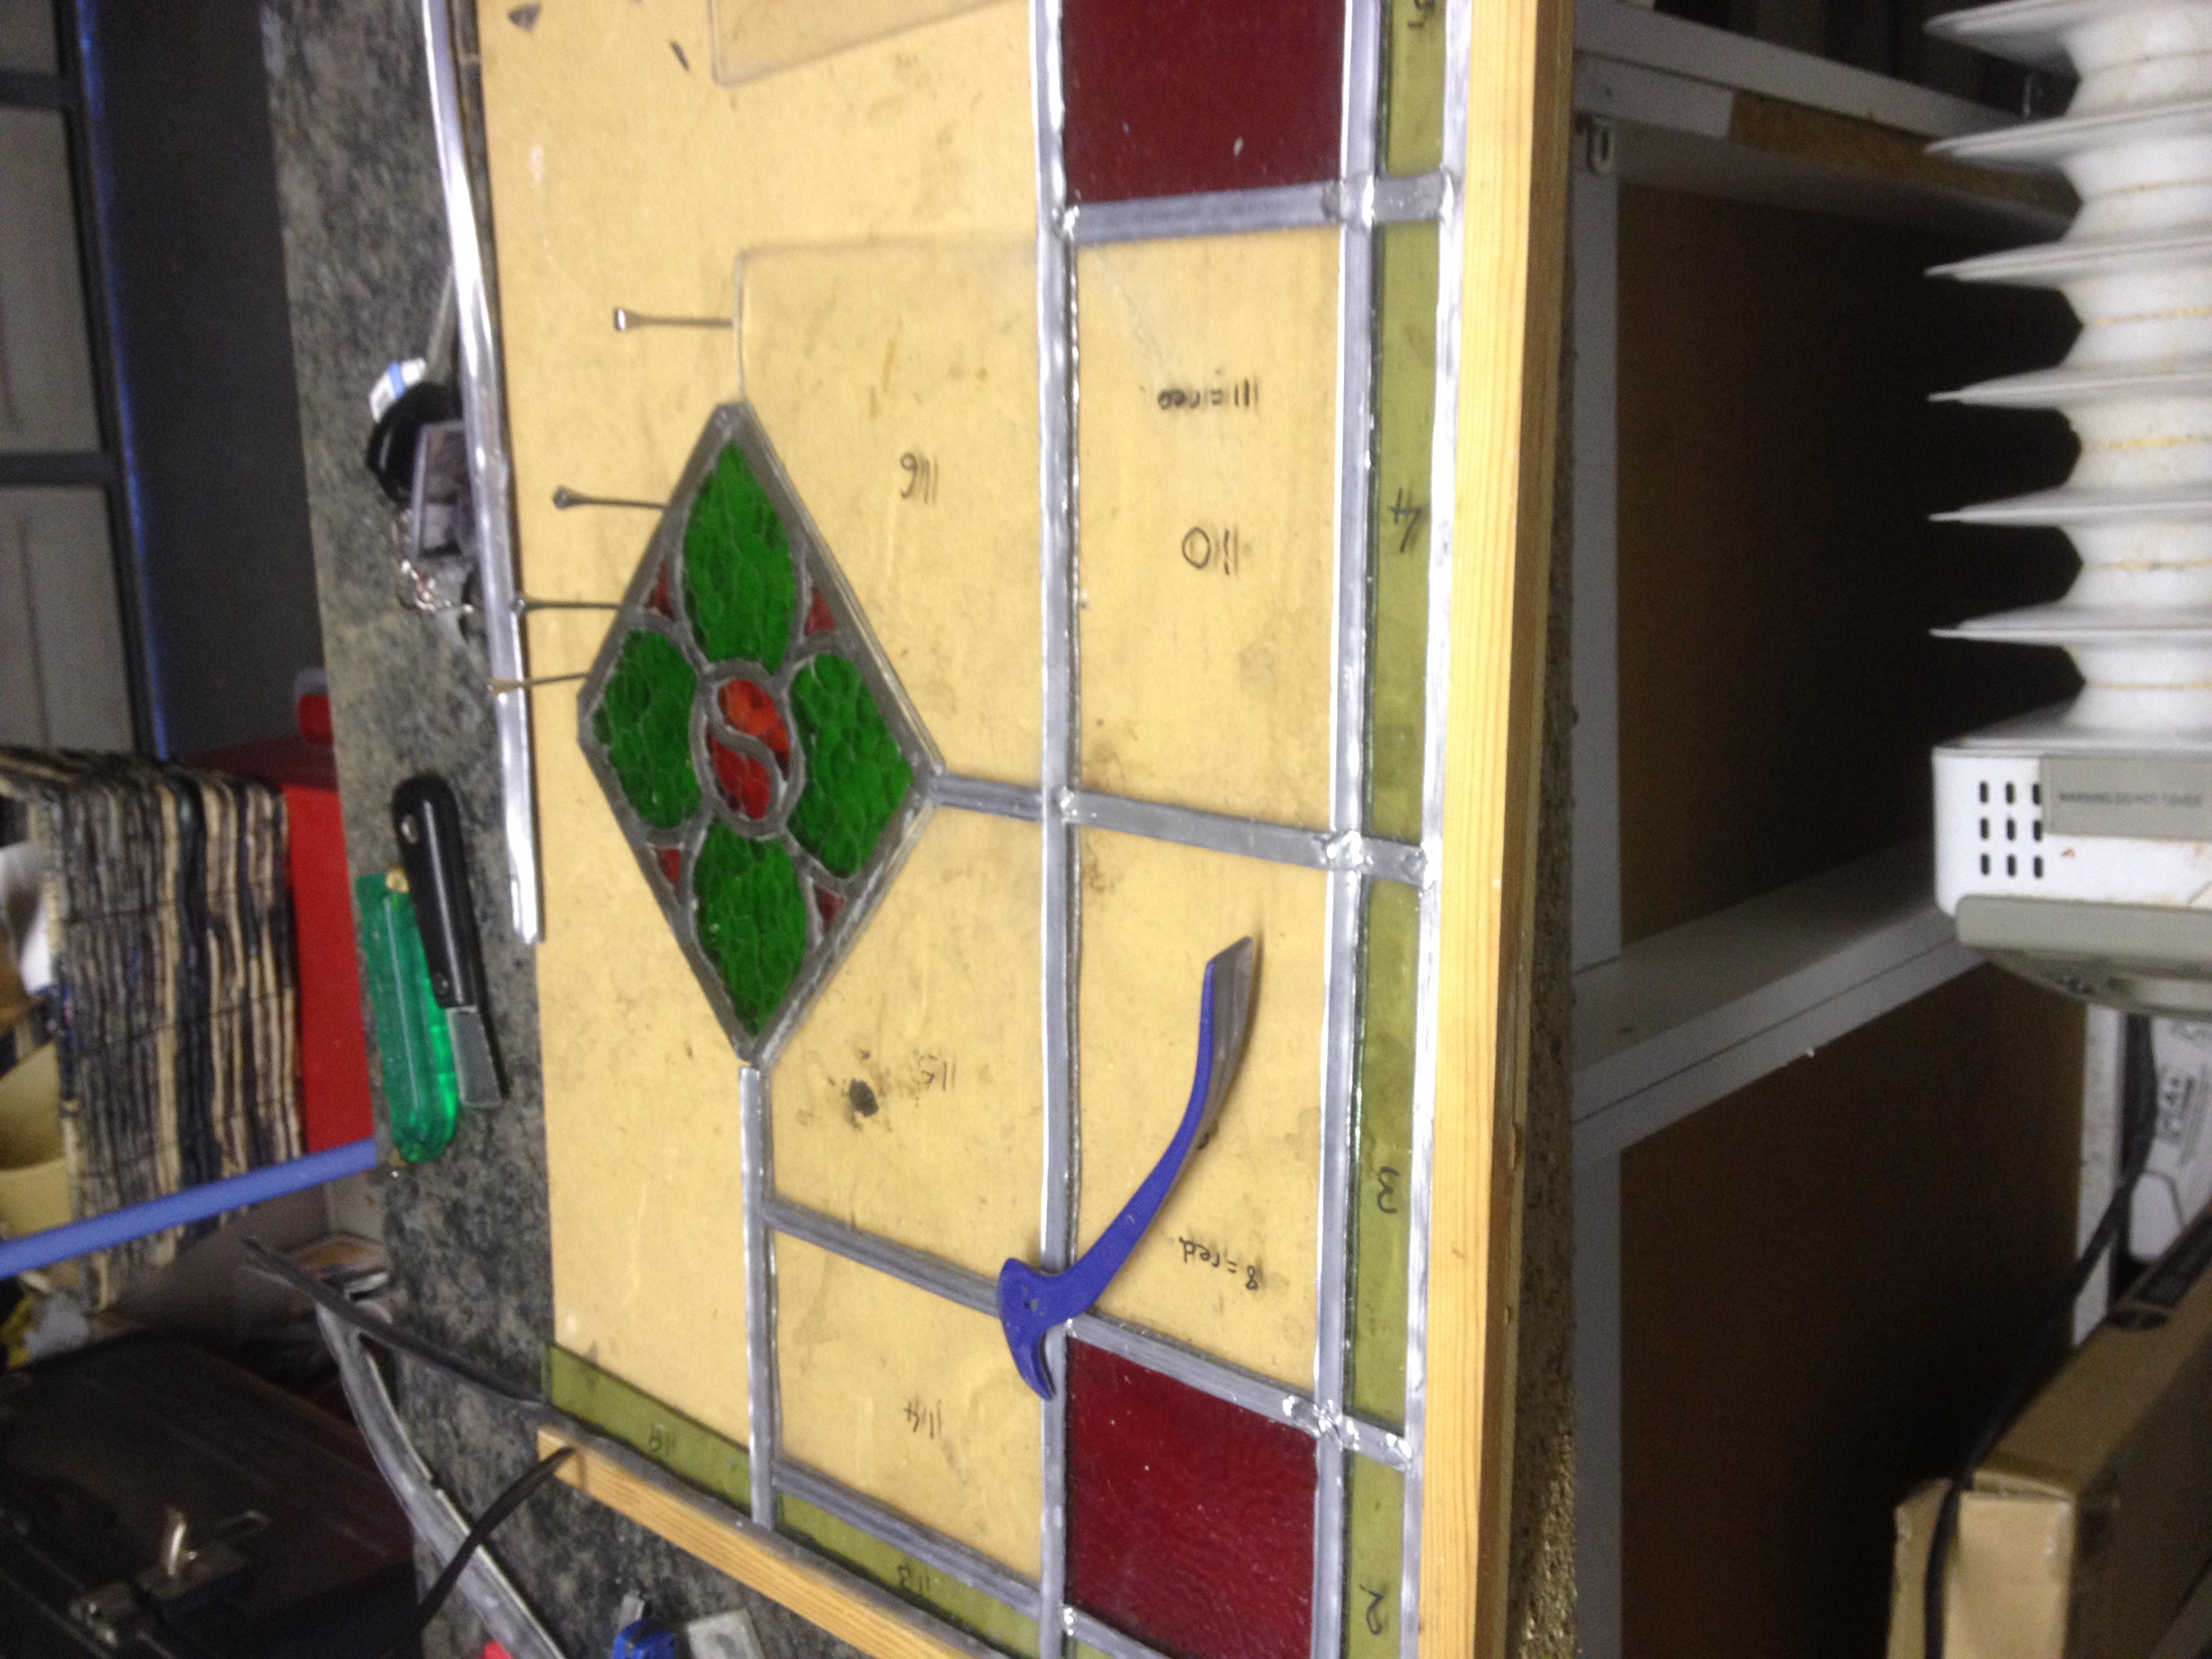
The glass is held in place before soldering with horseshoe nails – maintaining the traditional method.
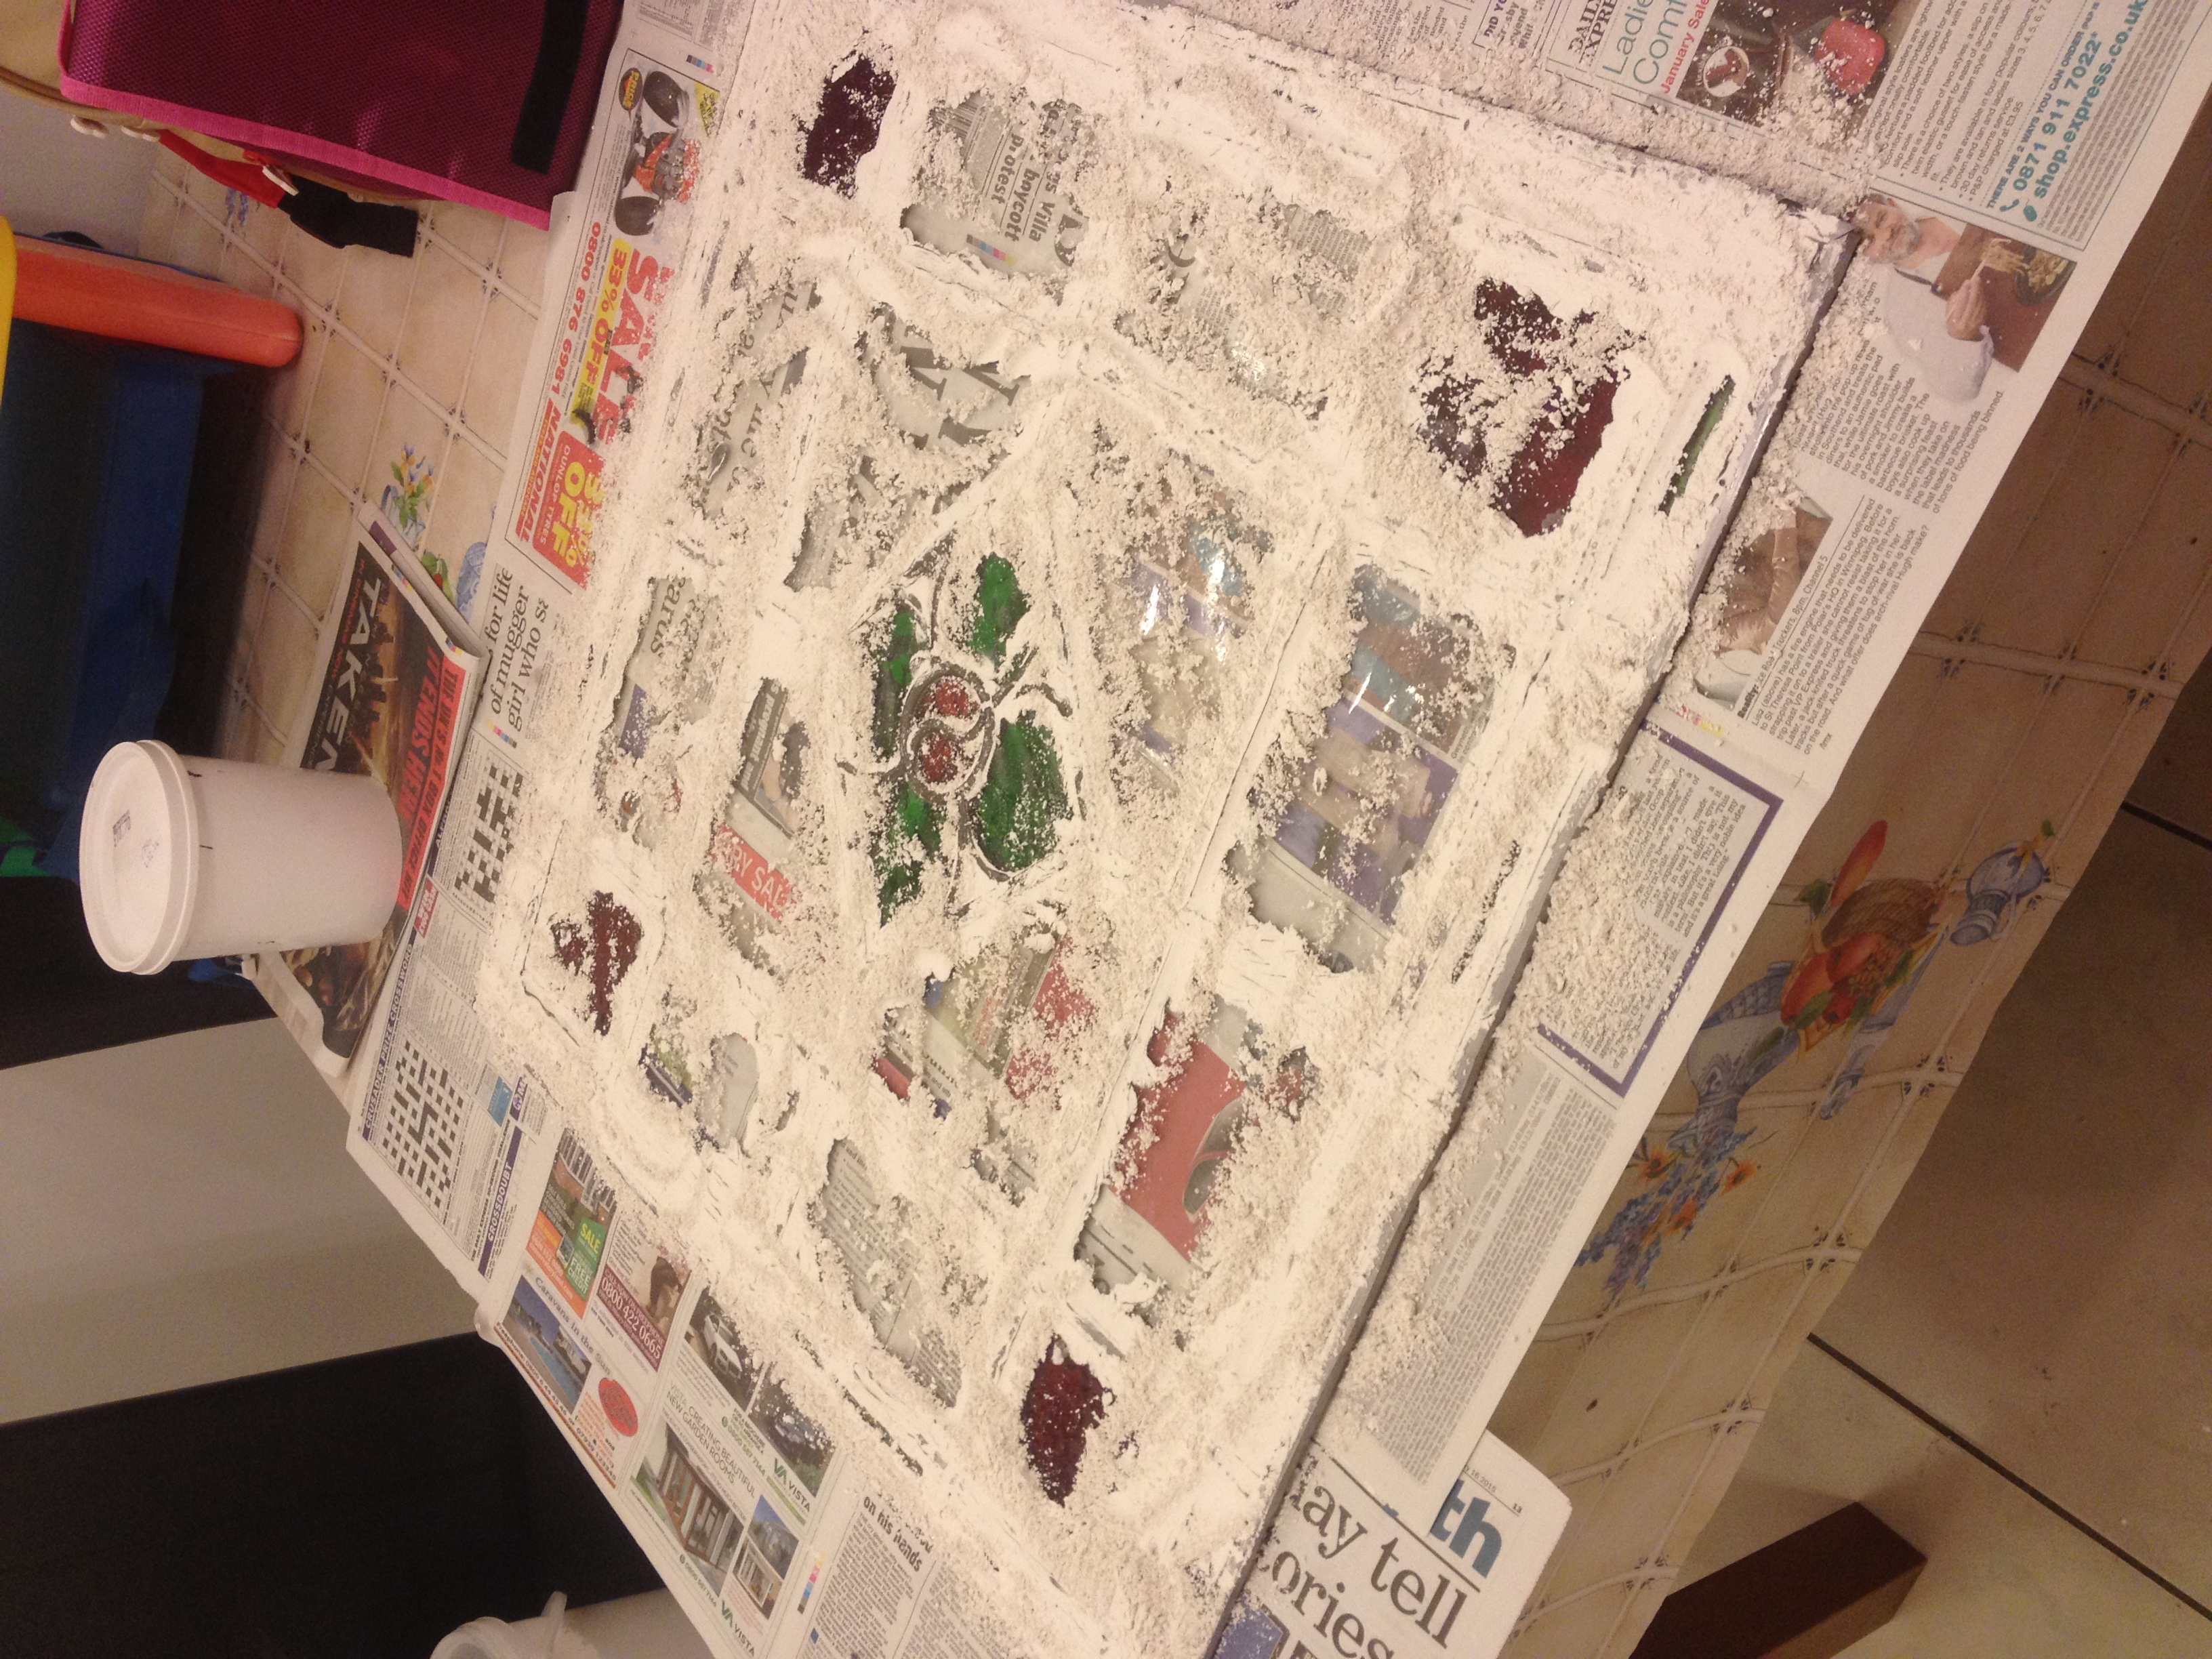
Once the design is soldered, cement is added to the panel to make it watertight.
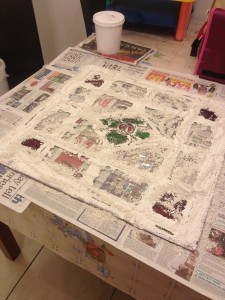
Whiting is added to draw out the moisture.

Finally the design is polished and complete.
Work with copper foil
Once the glass piece has been cut to the right size, it is checked with the main design to ensure there is a uniform 2mm gap around it that is left to make room for the foiling.
At this point it is important to wash and clean each piece in turn. Making sure not to do them all at once or you will have a big jigsaw puzzle challenge to reassemble your design!
Each piece of glass then needs to have the foil applied around the edges. This is done by carefully lining the foil to the glass and using a cork to burnish it smoothly onto the glass.
Once all the glass has foil around every edge the design is reassembled. Flux needs to be applied over the foil and then solder to join all the pieces.
The finished work is then washed and dried, if required a patina is applied to change the colour of the solder (to black or copper) and then a polish to complete.